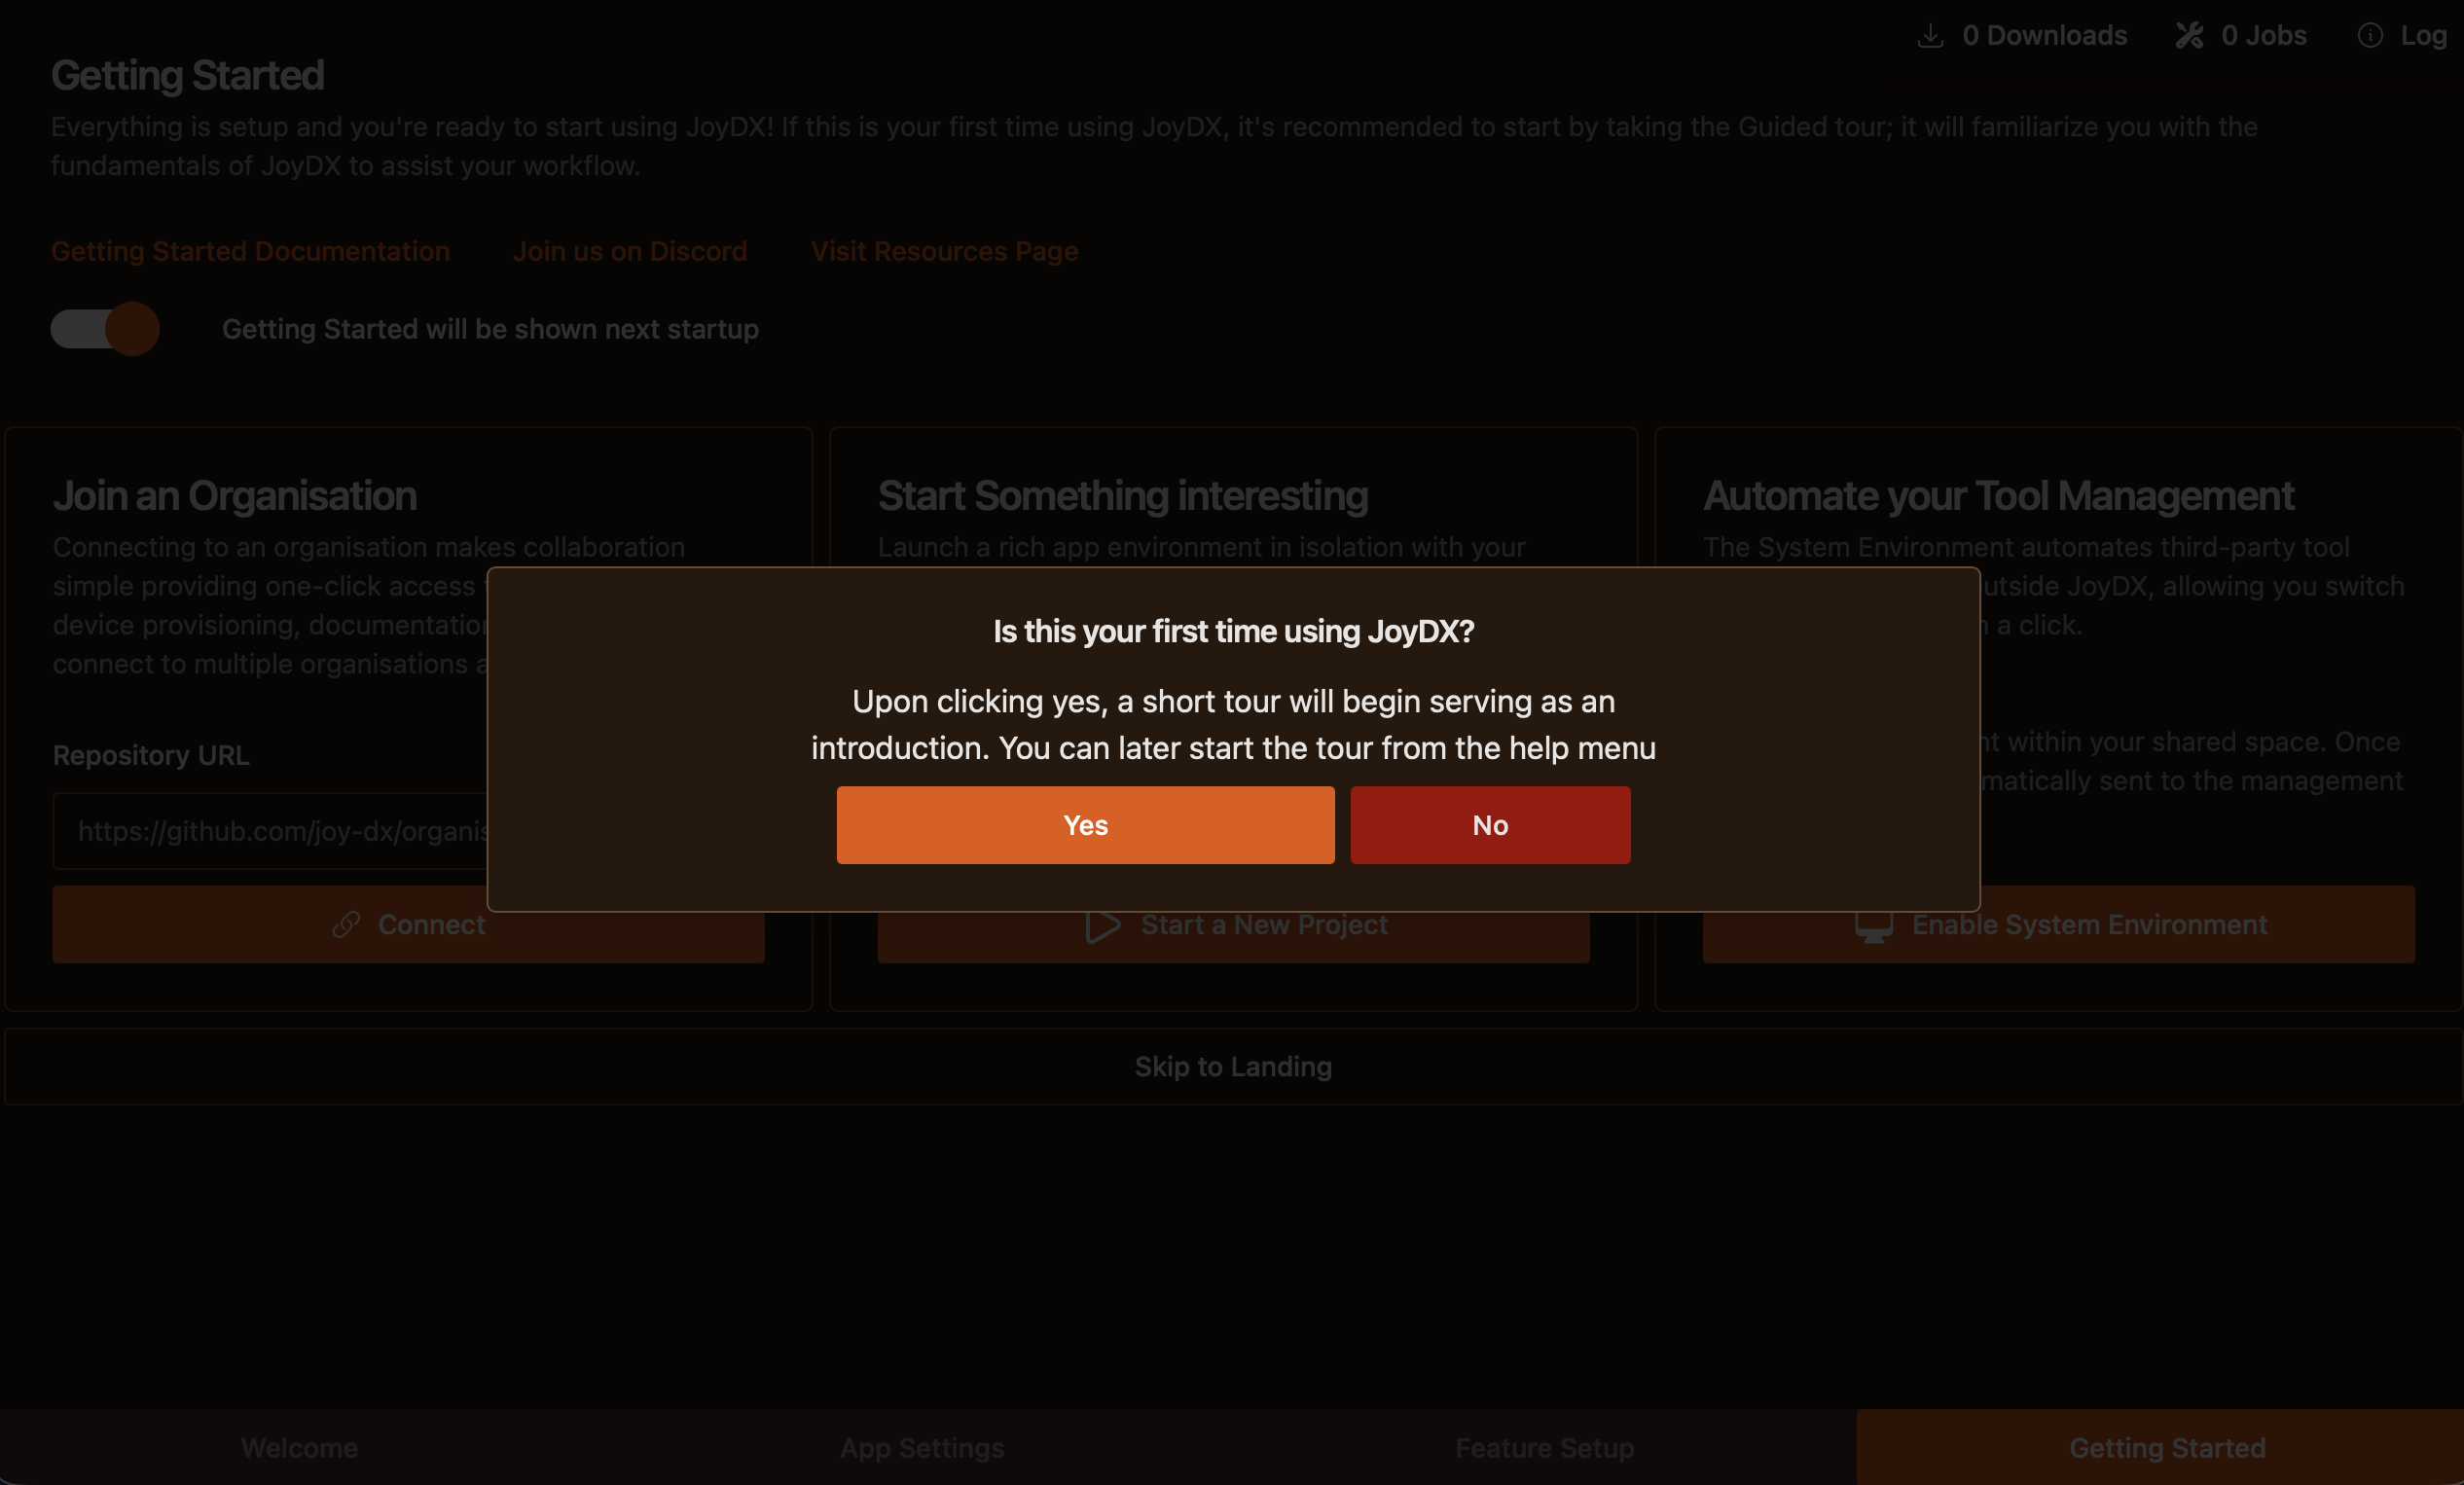
Getting Started
There is an installer script which will download the appropriate files and guide you to get up and running quickly.
You can download the JoyDX installer by clicking the button below
/bin/bash -c "$(curl -fsSL https://joydx.com/installer.sh)"For more information on setup, see Installation. The rest of this page will guide you through the onboarding procedure, assuming you have successfully installed, started, and chosen your language
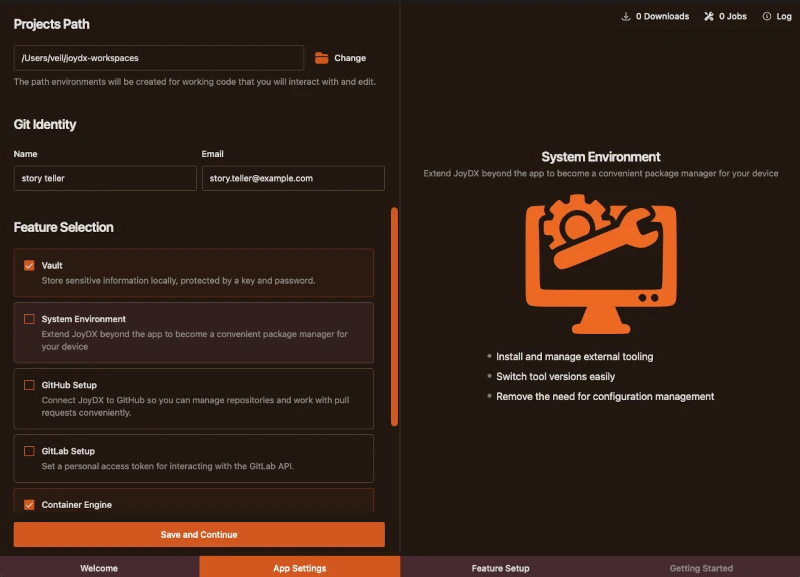
App Settings / Feature Selection
- Choose Projects PathsWhere you want to store your environment workspaces. Choose a convenient and accessible location
- Set GIT IdentityIf you are intending to make changes to code and commit using JoyDX as a GIT client, you will need an identity to associate with commits
- Choose FeaturesSelect optional features to have the onboarding wizard guide you through setup. You can hover over each feature for more information
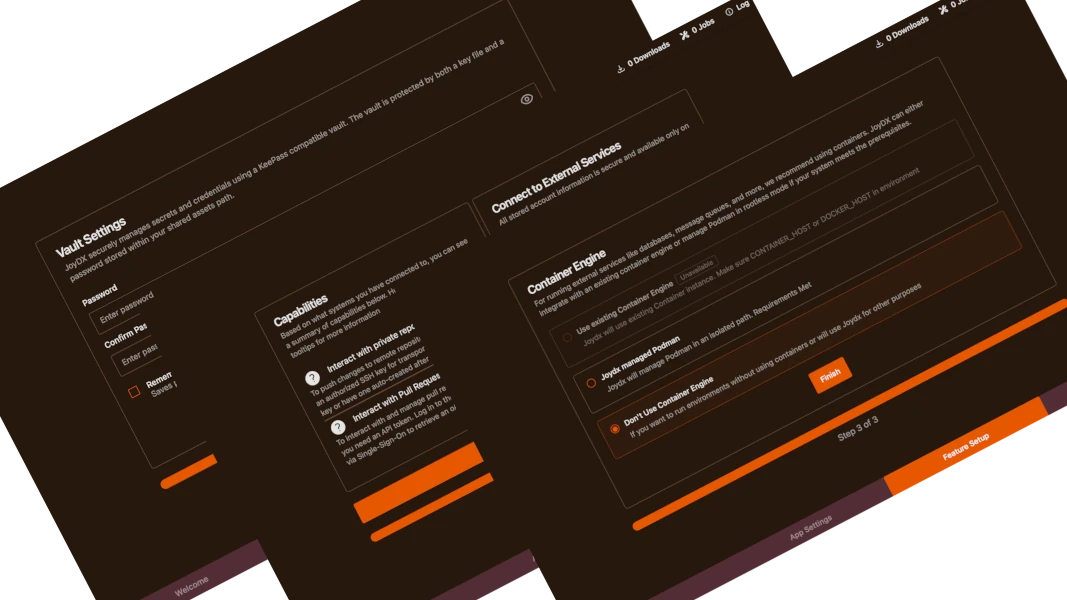
Feature Setup
Depending on the number of features you selected on the initial app settings screen, JoyDX will present you with customisation / progress tracking for each feature.
Get Started with one Click
- Guided Tour PromptJoyDX has quite a complex feature set covering a wide range of developer activities. You are encouraged to take the guided tour in order to orient yourself with basic operations
- Join an OrganisationConnect by entering the repository URL. If accessing private organisations, platform authentication should already be present from the external services screen
- Start something interestingJoyDX maintain a set of demo / starter templates allowing you to jump right in
- Automate Tool ManagementEasily manage third party tools for use outside JoyDX by automatically setting up a system shim with one click installers and the ability to change versions